
 |
| You can use a piece of wood instead of foam board if you have it laying around. You can also use white foam board if your Dollar Tree doesn't have black. Chalkboard paint on a black surface lets me |

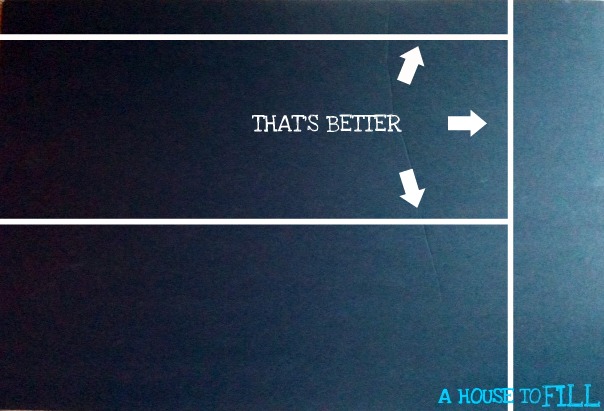
What's that? You can't see the lines because I used a dark colored Sharpie to write on a black piece of foam board? Yeah, I could barely see the lines either. But I didn't feel like rummaging around for something that might show up better, and for some reason I keep that Sharpie on the kitchen counter. How's this:
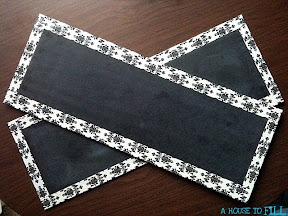
Cut along the lines. I used scissors because I couldn't find the utility knife that I used for my gallery wall project (I'm sensing a pattern), but if you have a utility knife or razor of some kind it works WAY better.
 |
| See how rough the edges are? They'd have been cleaner with the utility knife. But don't worry, they'll be covered. |
Apply your chalkboard paint according to the directions on your container:
 |
| What? You don't put a piece of masking tape on your trigger finger to avoid getting paint on it? Where have you been? All the cool kids are doing it. |
And you'll get this:

My chalkboard paint said to let it sit for 24 hours after spraying. I got distracted and forgot about this project, so mine sat like 60 hours. It was good and dry when I got back to it.
Next I "primed" the surface by rubbing a piece of chalk across it:

Then I erased everything:

Now for the edges. I used decorative Duck Tape because I'd had it sitting for a while waiting for the perfect project. If you can't find any at your store (or they don't have any colors or patterns you like) you could use ribbon instead. Just use double sided tape to attach it.
I cut the tape for the short sides a little shorter than the chalkboard and attached them. Then I cut the pieces for the long sides a little bit longer than the board:
I cut the tape for the short sides a little shorter than the chalkboard and attached them. Then I cut the pieces for the long sides a little bit longer than the board:

For the corners, I cut out a square:

Folded in the ends:

And then the long side. When all sides were done I had this:

Then I did it all a second time:
I flipped them over and added poster mounting tape:

Stuck them to the inside of the cabinet doors:

And got to writing:


Voila! A beautifully organized cabinet:

 |
Sorry about the photo quality. I promise to find my camera soon! |
I'm linking up to:


13 comments:
Can't get much cuter than that! Thanks for sharing with my newbie party.
Great idea to finish the edges with patterned tape. I love them.
OH MY! This is fantastic! Love that you used the printed Duct Tape -- so many great patterns available now! Perfect solution for organizing!
Great idea! Thanks for auditioning for American Crafter- good luck:)
Great idea plus it's way cute!
That is a GREAT idea!!! Thanks so much for linking! :)
Very good! I never saw decorative ducktape? I guess that is ducktape for women:) Your newest follower. Hope you can visit me sometime.
What a great idea! Thanks so much for sharing!
wonderful idea!
Such a delightful blog! Soooo happy to have found you. I'm here from Debbie's Newbie party to welcome you and I'm your newest follower. Pop over for a visit sometime and have a blessed Easter.
xoxo,
Kim
Sooo cute! I love the border detail!!
Thanks for linking up to "20 Below Thursday"! :)
I featured this on Thrifty Thursday this week! :)
So creative!! I found your blog through Thrifty Like Me!
I am now your follower!!
cinsarah.blogspot.com
Post a Comment